
 |
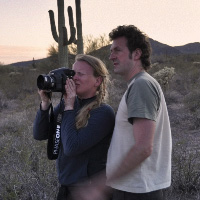
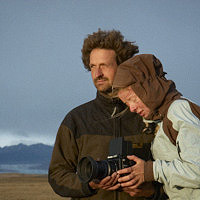
About Cenci Goepel and Jens Warnecke | |
|---|---|---|
| A moon of light in the noon of night | ||
|
"Lightmark," the body of work by the German artists Cenci Goepel and Jens Warnecke, was created by photographing moving light sources at night. The resultant ethereal images inhabit a dramatic and often eerie landscape. Long exposures , up to an hour in length, are required to allow torchlight to take form and for the very low level of ambient light, usually from the moon, to illuminate the scenery. Seen through the viewfinder, the landscape often appears as solidly black. Using a digital medium format camera for their photography, Goepel and Warnecke focus on photographic techniques rather than post processing to achieve the results they are aiming for. |
 |
|
|---|---|
| Contact | |
Cenci and Jens are based in Gross Bengerstorf, Germany. |
|
 |
||
|---|---|---|
| About Photography and Light Painting | ||
Tips and Tricks |
||
|
All that shines Light painting has experienced a massive boom in the last couple decades largely due to digital photography, which allows photographers to see instantly what they have just photographed. It's an excellent tool for experimentation. |
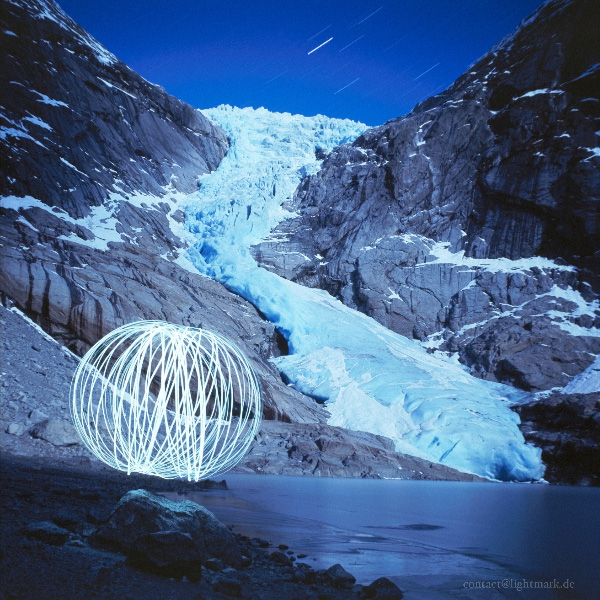 |
"It took a three-hour uphill hike on a frozen path to reach the foot of the glacier and three nights to create this photograph. From below, it was impossible to tell what the weather would be like above. The first two nights were so bad that we couldn't photograph a single thing, but it was a beautiful hike nonetheless! The third night was a charm - perfectly clear as you see here. The ball was created by spinning a LED flashlight attached to a band in a circle as well as around the painter's own axis." |
|
|---|---|---|
| Lightmark No.63 Briksdalsglacier in Jostedal Glacier National Park, Norway. |
 |
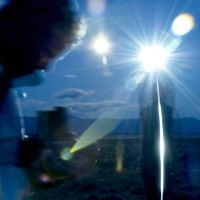
Tips and Tricks We've experimented with a lot of complex, colorful, blinking lights, but in the end we always turn back to bright yet simple light sources. Most of our photos are painted with LED lamps, which make all the difference in the world when it comes to detail. Finding the perfect lamp isn't exactly a quick task, since seeing the results in the photograph is the only way to truly tell if a light is good for the task. Besides their light color and brightness, lamps vary greatly in how they emit light. The design of LEDs, reflectors, lenses and even safety glasses influences the internal configuration of the light and, therefore, the dynamics of the light drawing. With a brush and paint, the line thickness is influenced by the amount of pressure applied, but a stroke with the flashlight becomes more intense the more directly it is captured by the camera. If the light is pointed directly at the camera, the result is a bright and glimmering spot, yet as it turns away, the stroke becomes thinner and thinner until it disappears. Very few lamps are able to actually create a continuously subtle transition between bright light and darkness. We had to make some slight adjustments to most of our lamps: we filed back the protruding plastic casing on some, taped diffusion foil over lenses, or altered the reflectors using aluminum foil. |
|
|---|---|---|
Tips and Tricks For us, light painting is only one element of the finished photograph. The composition as a whole is the deciding factor, which is why we seek out motifs that are also spectacular without the light painting in the daytime. We then use some type of ambient lighting so the setting is visible in the night. There are usually plenty of lights in the city and the moon is nature's illuminator. While the light painting is usually complete in a relatively short amount of time, the environment takes a lot longer to become visible. Once the drawing is finished, we allow the photo to expose for a few minutes after, sometimes even up to an hour. |
||
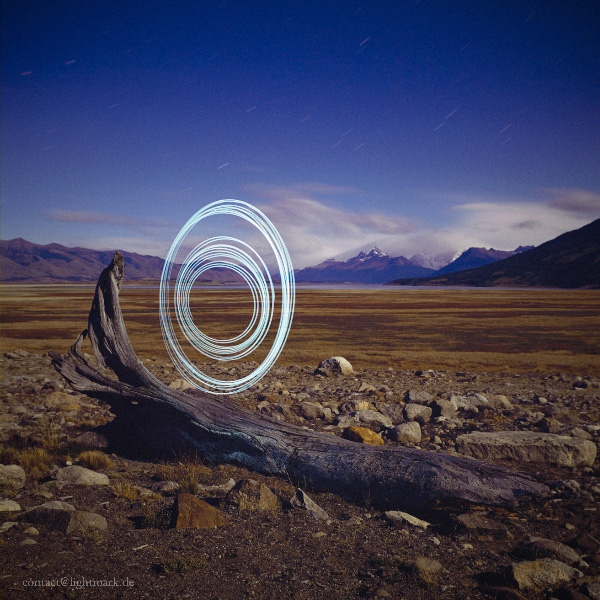 |
"In this photo, we spun a band with LED flashlight on a single plane only. The spiral shape is a result of the gradual shortening of the band as it spins. In order to achieve the space between the outer and inner rings of the spiral, we paused exposure for a brief period of time." | |
|---|---|---|
| Lightmark No.54 Parque Nacional Los Glaciares, Provincia Santa Cruz |
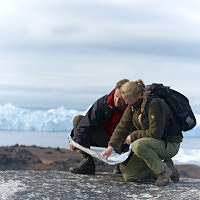 |
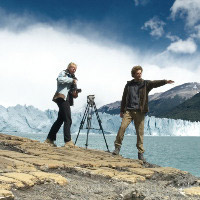
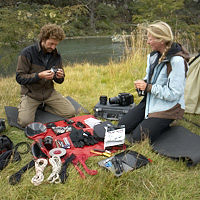
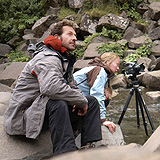
Tips and Tricks We find working as a team to be a great advantage. This way, one person can remain with the camera while the other is active in front. The person on the camera has two important tasks. First, they direct the light painter to the right spot because it's easy for the painter to lose orientation in the dark. He isn't able to see the camera and gains no sense of where he is in the photo. Secondly, they're able to "take a break" by holding a black piece of cardboard in front of the lens to temporarily stop the camera from recording the light.This is a tremendous help when it comes to making designs with numerous parts and it also allows the light painter to find new positions. It's also easier to find the right focus in the dark with two people. One person stands in the focal plane with an illuminated lamp while the other finds the focus.
|
|---|
 |
Why isn't the light painter visible in the photographs? The most frequently asked question about our photos is why the person behind the painting isn't visible. We need not review the fundamental concept behind extended exposure in order to answer this question. For the most part, it's really simple to avoid leaving unwanted traces in your photo. First of all, we dress in all black for photographing and cover up any reflective object that might create light tracers, making black electrical tape part of every get up. In order to darken our hands and face we wear black gloves and a black motorcycle mask. But when wearing this outfit, you have to be absolutely aware that encounters with other people or the police can easily lead to uncomfortable misunderstandings. However, even in black clothes, it's possible that the light painter will show up as a shadow in the foreground of the photo. The only things that help avoid this are quick movements and leaving the scene while exposing the background. |
|---|
 |
There are a few core rules that help our photography: Know your equipment and what it can do for you, especially your lamps Wear black, move fast when you're in the frame and avoid shining light on yourself Find good sources of ambient light and use them to add depth to your shot Don't be so engrossed with your ingenious light painting that you forget to consider the overall composition of your photograph Collaboration helps to achieve better results Keep your ISO low to avoid noise |
|---|
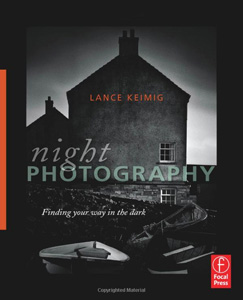 |
The following text is a quote taken from our personal entry to the book "Night Photography". To those who are interested in night photography or light painting, there is a lot of information and suggestions in this book for you. When Lance invited us as guest writers in his book covering the theme of light painting, we didn't hesitate to excitedly agree. The book gives a phenomenal overview of this art, from the historical beginning in the early 1900's to the digital technological time of our day. It is a must read for everyone interested in low-light photography. |
|---|
 |
 |
|---|---|
More information and FAQs |
|
|
|